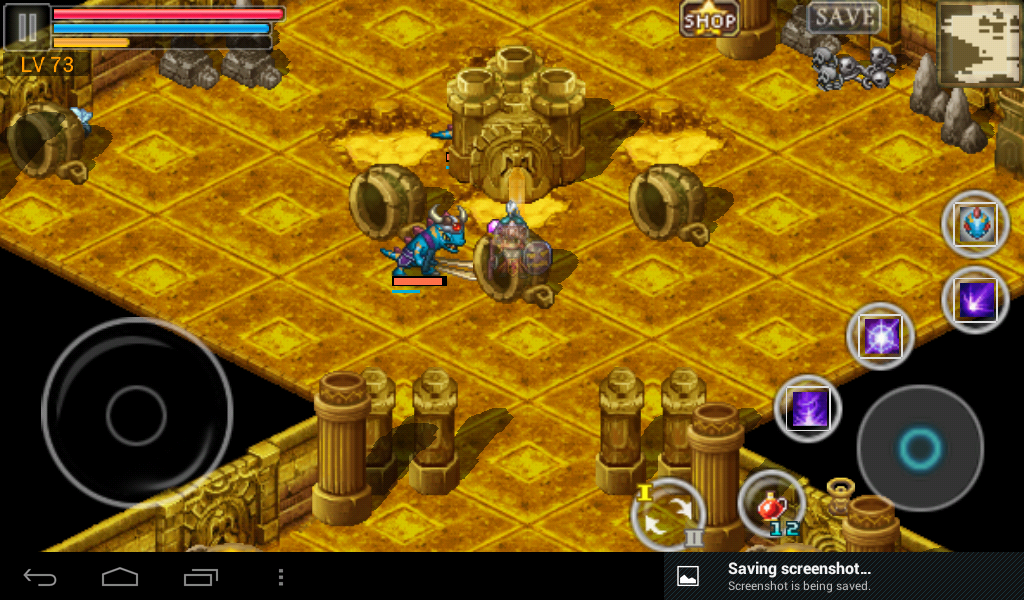
Was bored and decided to play some hack and slash RPG. Except some annoying bugs and the lousy translation, the game turned out quite addictive until end-game. Then it is repetitive and boring, unless you pay to buy gems.
The worst two bugs as of the moment of writing this article are:
- While scrolling right when moving, sometimes the controls freeze and you can’t attack and use skills but your enemies can. You often get stun by hellknights. Quite annoying.
- Dryad bosses and the final boss tend to go to the edge of the map and force you to follow them. It happens a Dryad walking left until the beginning of the map.
Funded players (those who pay real money to buy gems) will have it easier and faster. You can buy some really cool things with gems. Fast HP regeneration, additional mercenary slots in early game, better drop rate, faster skill recharge. Fortunatelly – you can still end the game without gems. It’s just not that easy.
Be sure to play 12 days in a row, so you get the 2 good mercenaries and some spare money, potions, gems and scrolls:
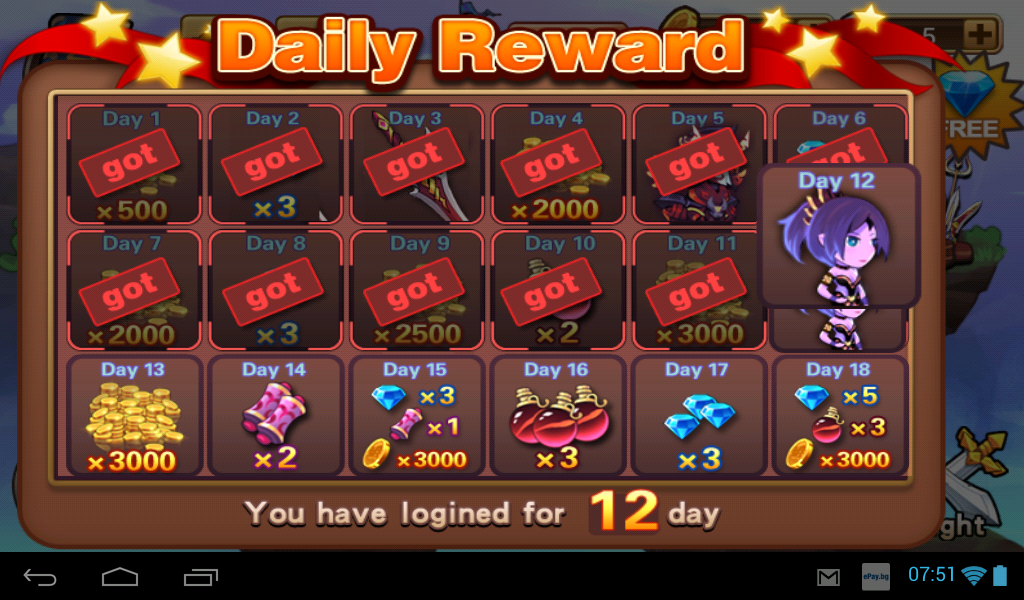
Play 12 days in a row!
Passive skills are valid for the whole account, so you can max them up by playing another game slot and buy some of them there. In the beginning, the game is generous on gems.
Delete the second account and start another game. Repeat until you have all passive skills. If you do this, you can probably buy any of the premium mercenaries, so they help you in the end-game fight.
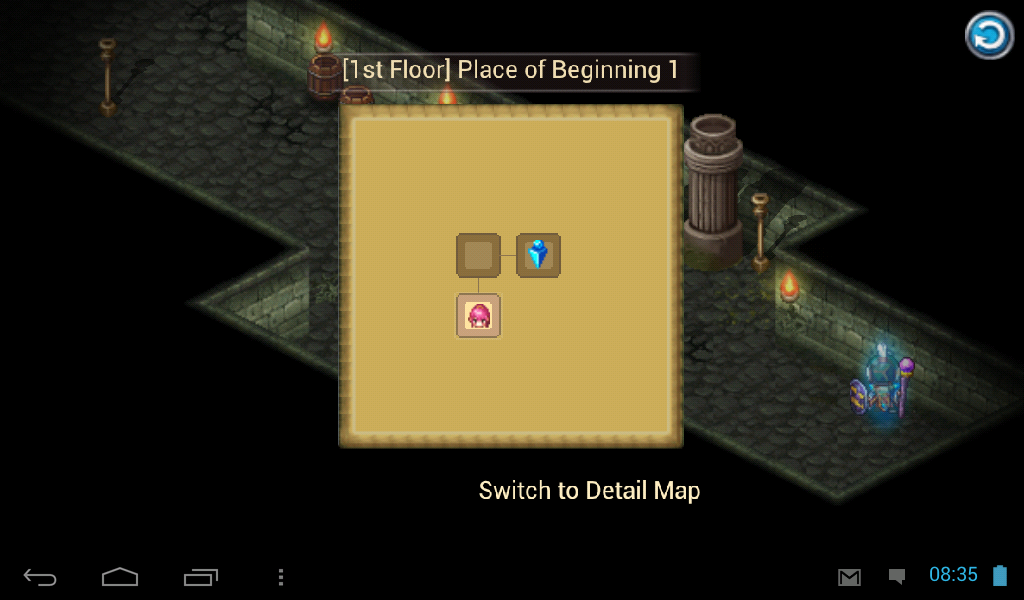
So, let’s start. You get few things from the intro-tutorial:
- Your father “signor” Glenelg rushes to die to protect the realm.
- The realm is attacked by a demon named Beld.
- You are named Arthur.
- You rush to help your father.
- You have the same skills as your father.
- You can’t play different class than sword fighter.
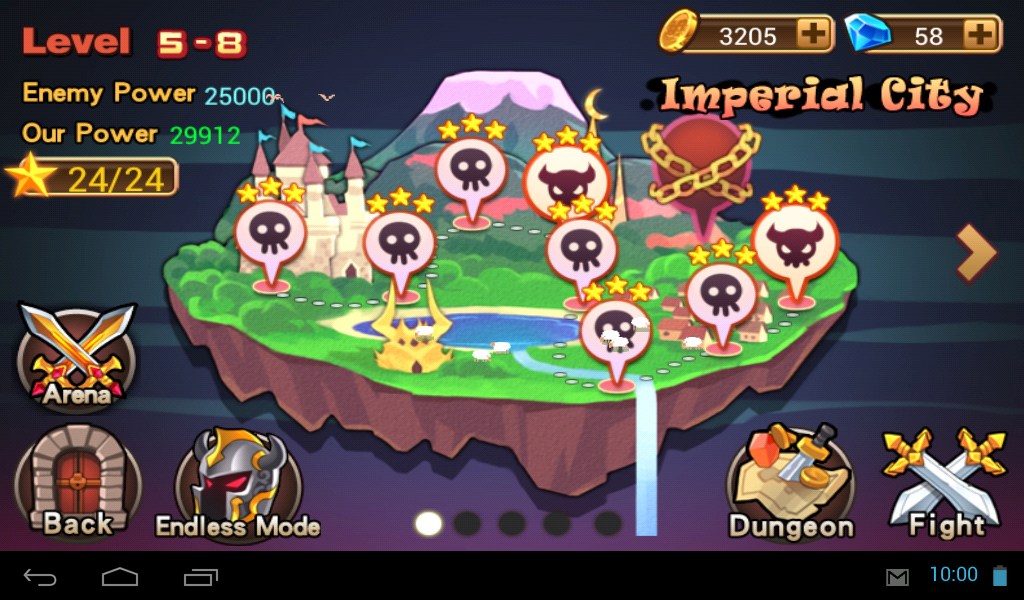
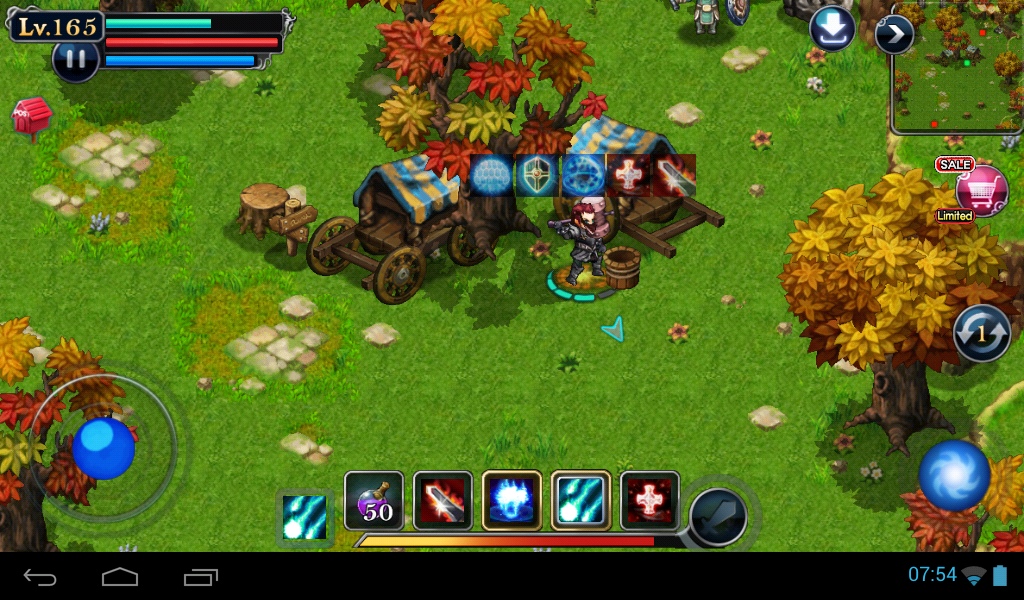
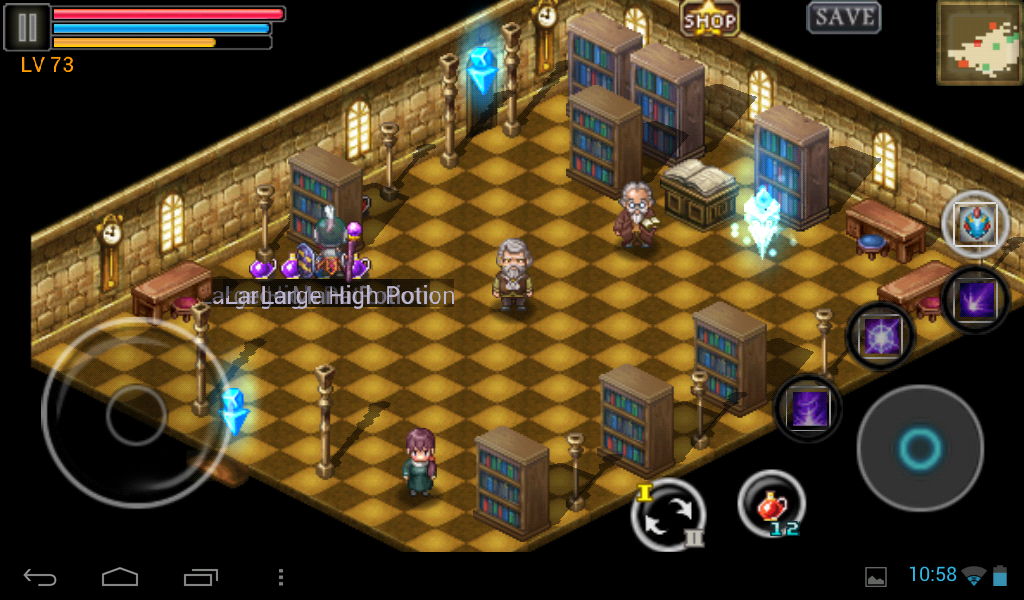
Area 1: Imperial city.
Area 1: Imperial city.
Nothing much to do here. Follow tutorial, save Lydia and upgrade her. She is useful healer. Until you get Irina.
Beat the (@#$*) out of the first bosses and take them as a pets.
Get all possible stars from the area. Rewards are not very good but will sell for money and you need them quite a lot.
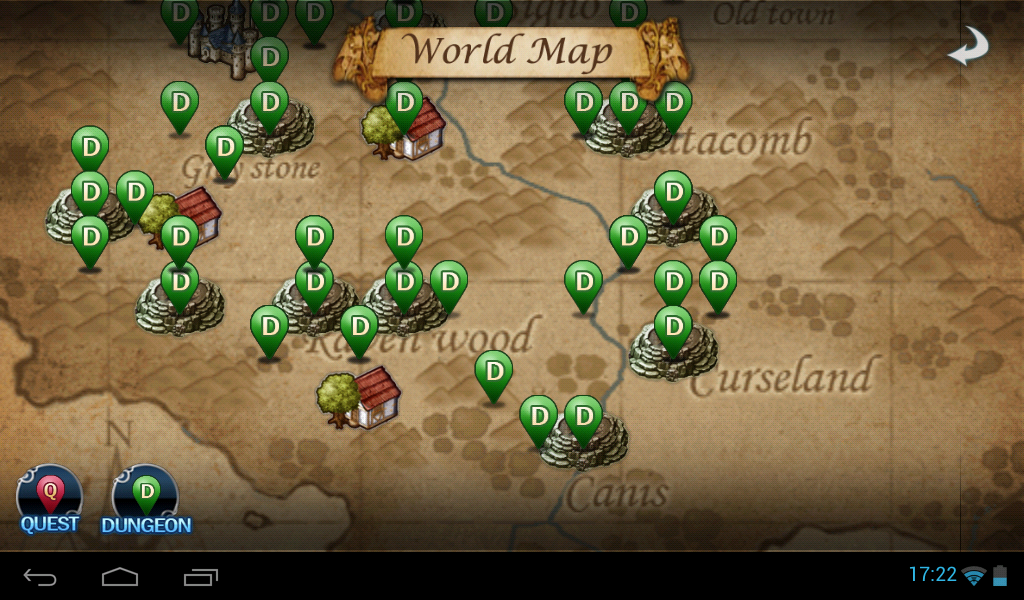
If you are funded – Get 15 stars and enter the dungeon. Best area items are there.
If you are not funded – keep the gems for later. You need a lot of spare gems to get all good passive bonuses.
DO NOT enter dungeon. Rewards are useless and you will soon get better stuff.
Get all bosses down and march to …
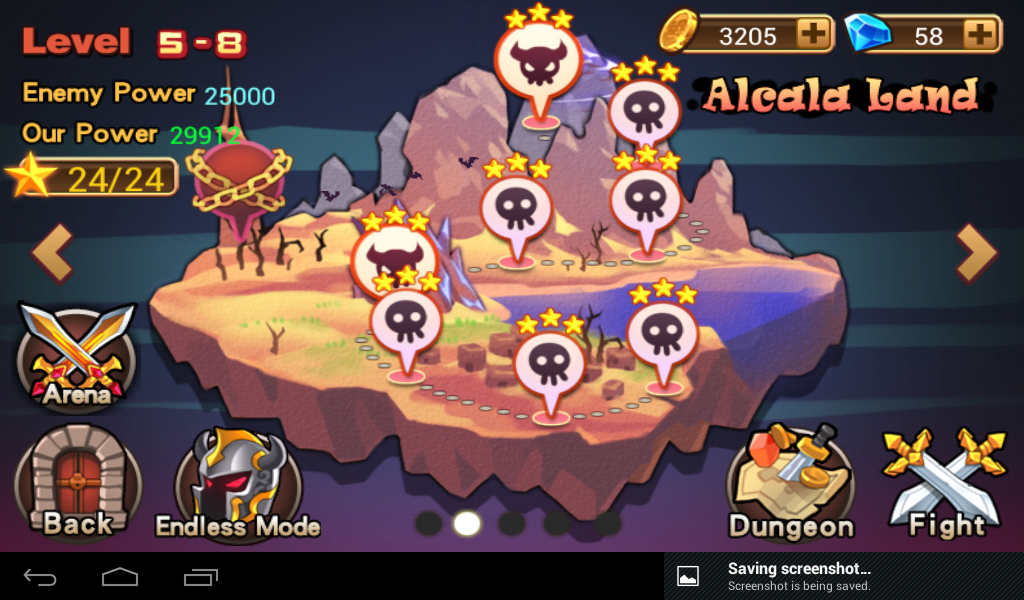
Area 2: Alcala land.
Area 2: Alcala land.
Replace your monster with the obsessed knight Cougar. He is way better tank but costs a lot more to upgrade.
Get Irina. She is weaker healer than Lydia but she buffs defense and her main attack is vampiric.
Up to you to decide whom you will use as a main healer. Irina will keep healing you every 10-12 seconds. Even off-battle. Quite useful when you want to max your health before boss-fights.
Work your main char to level 20 and get 3 slots for formation. Lot easier to complete the area after this.
If you are not funded – Ignore the dungeon. Keep the gems for later.
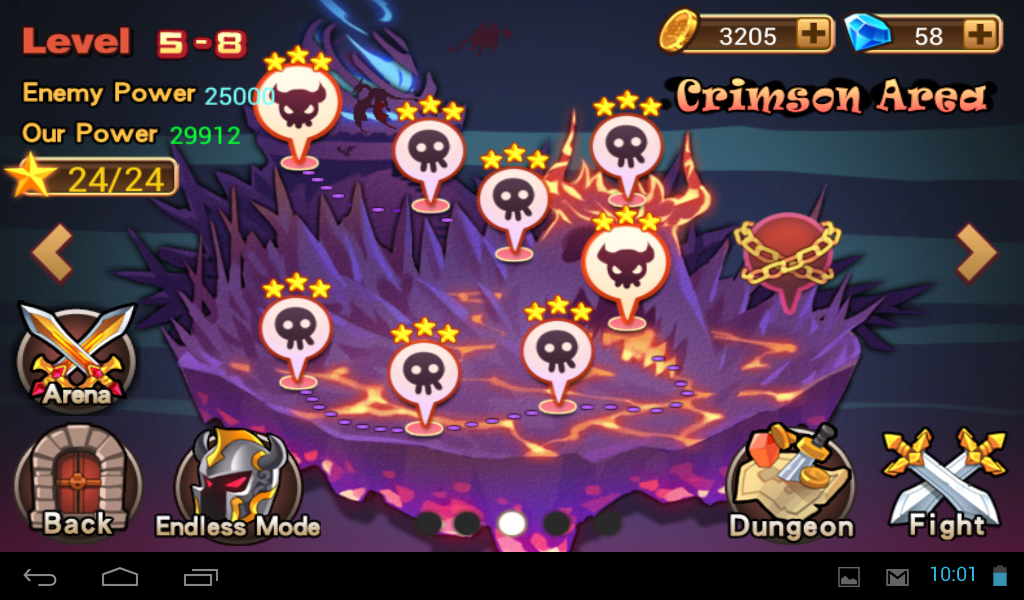
Area 3: Crimson area.
Area 3: Crimson area.
This is where the easy romantic part ends.
Play for 5 days in a row to get the demon knight mercenary Breeze as reward. He is way better DD than you and has shockwave.
If you listened to my advice to keep all gems and if you are not funded, you can probably afford a passive skill by now. Get the party expansion x 2.
Now you can have 2 healers and 3 tanks. Plus additional ranged damage dealer on the back. Seth is very weak but does good damage. You can get Seth the timid mini-dragon from map 3-4.
Kill the last boss Gu-Vano 5 times. Stella sword is not bad at all. If you are lucky, he will drop a 4-star Muramasa which is a bit worse than 4-star Stella and also Altai stone with +15% damage.
The only really hard thing in this area is to get 3-stars result on map 3-7. Every other group comes from behind and you have to get back to kill them or your healers die. You need timing less than 2:40 minutes. Take your time. Not necessary, no reward but you need money for upgrades after all.
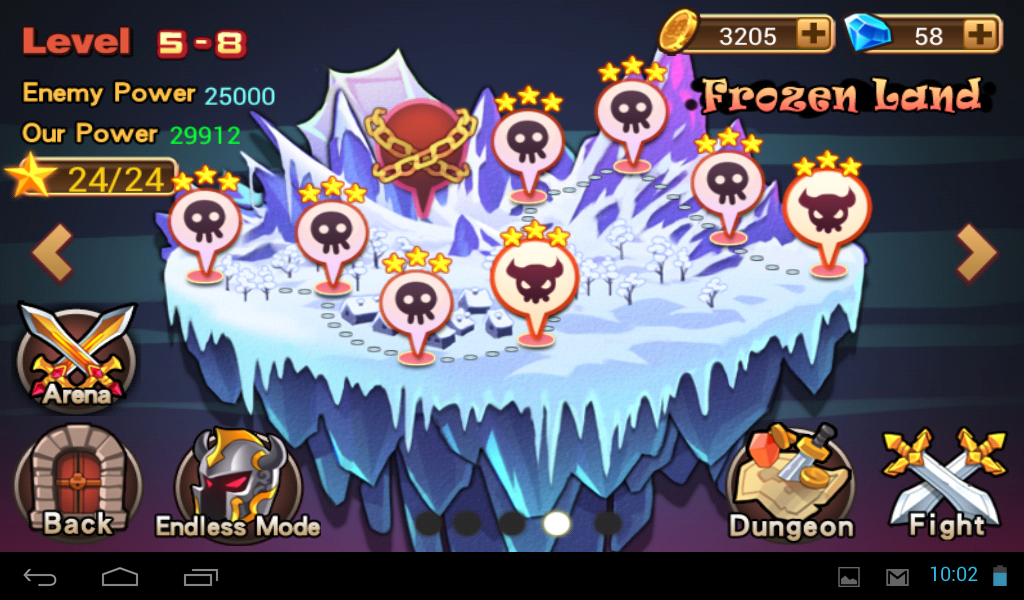
Area 4: Frozen land.
Area 4: Frozen land.
Arm with patience on this map.
Level up everyone you can.
Level up your items.
Last map needs 15000 party power and you will barely make it there with just 15k.
If you have been listening so far about no gem spending on dungeons – you probably collected more gems. Get rapid skill cooldown. You will use a lot of skills.
Now the fun part 🙂
You have to kill Deal-Murdo 6 times for the reward of 4-star “Leonhreat”. Best armor you can find if you are not funded. He also drops a 3-star Casely-ann sword and 2-star “Lord dangler” shield. Be sure to check them out if you don’t have better. If you are not funded – you probably don’t. Keep killing him until 2-star “Lord stone” amulet drops. It has 15% chance of instant skill recovery. Very useful and goes to 21% for the first few cheaper item upgrades. Don’t overpay you will get the 4-star version in the last area. No need to over-upgrade any item until you are in the last map 5-8.
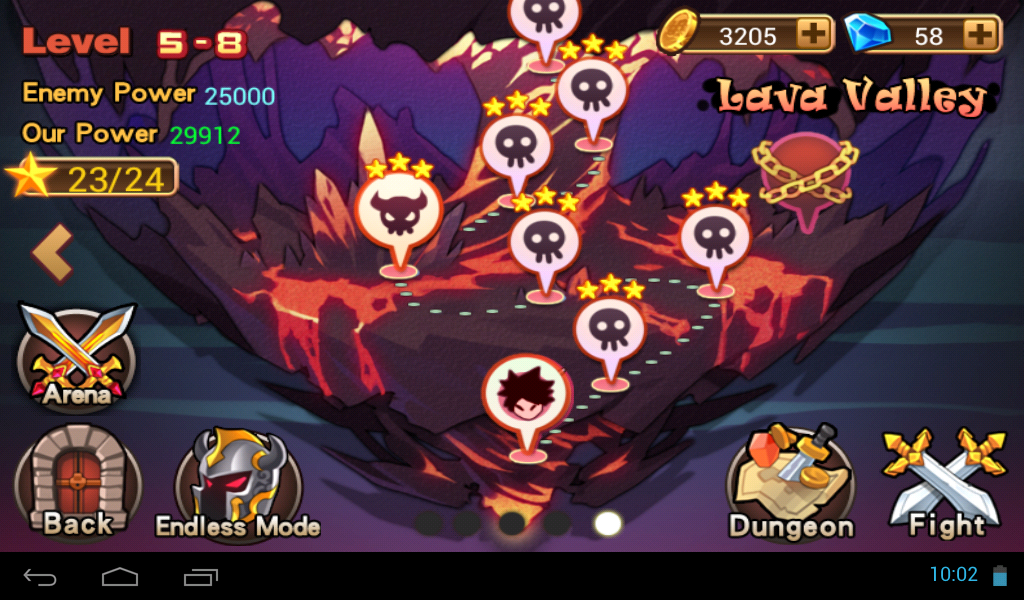
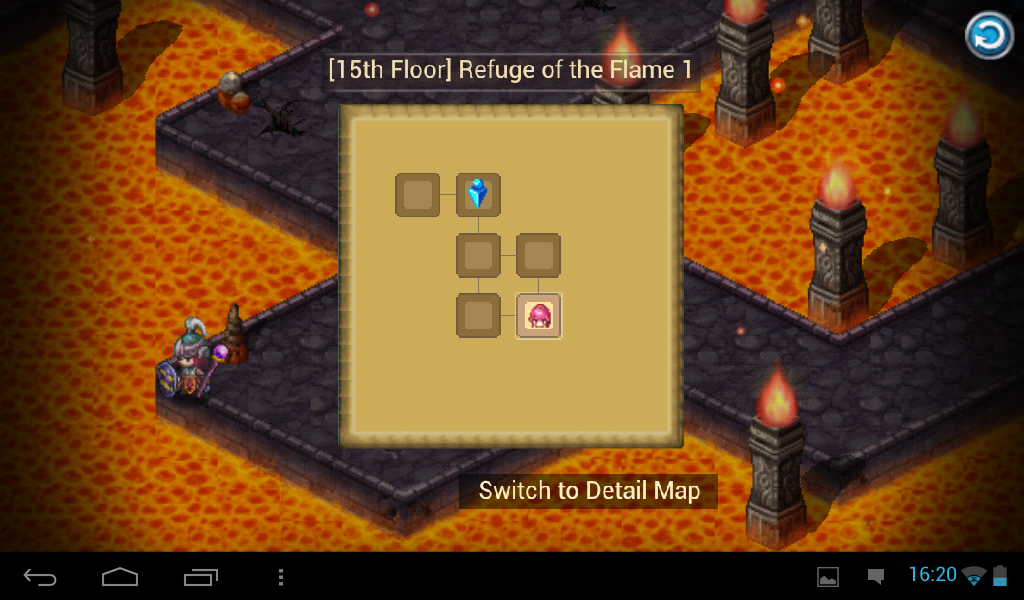
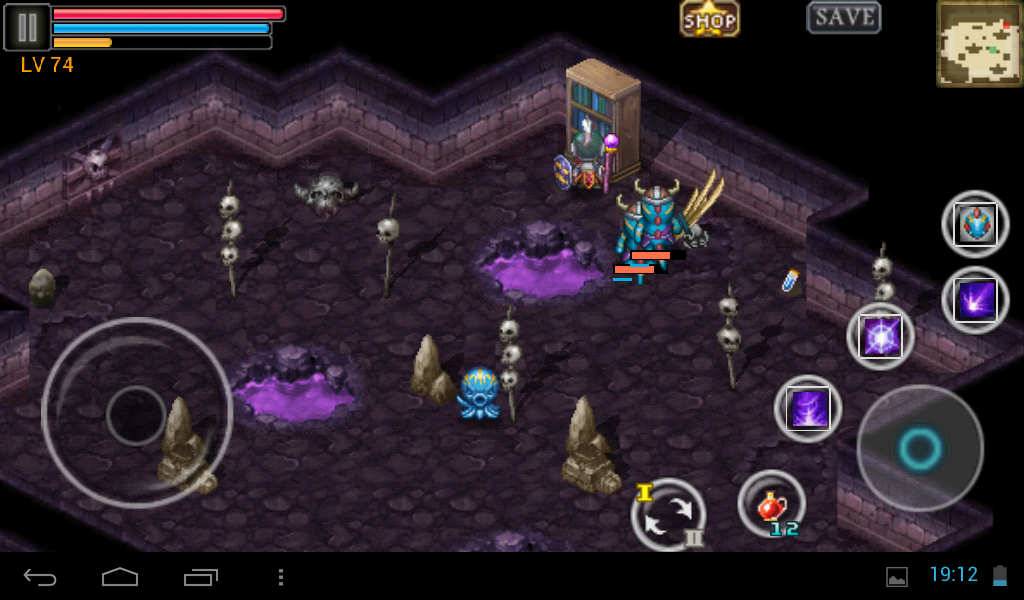
Area 5: Lava valley.
Area 5: Lava valley.
This place is deadly. Literally.
If you are not funded:
- Get back to lower levels and blaze 10000 kills for 20 gems.
- Collect some more from daily rewards and buy HP regeneration. Very useful passive skill. Even with all your mercenaries dead – you still have a chance to complete map or duel someone.
- Grind yourself to level 50 for some more gems and buy “Drap” rate increase (if you can collect that many gems).
Funded or not, Level up everyone and everything. Level 20 party goes down from one slash of the first mobs.
- Make Gu-vano raids. 3 minutes. 4-5 mini bosses. 2k+ gold. 40 kills. Some items.
- Map 3-8. 4 runs are worth 10k gold.
- If you feel strong enough (20000+ party power), grind map 5-2. 3 bosses. ~3500 gold per run. Some potions and some very useless items will drop on each run. Experience is good though. Sell the items and repeat.
- Later, if bored – grind 5-5. Good drop rate from the barrels.
- And of course 5-8 which is full of mini-bosses all over the place.
In all cases, you can’t end the game with less than 25000 party power, so you need to level up items, skills and party members quite a lot.
If you are not funded – this involves much grinding for money.
You can try to get premium mercenaries. The authors decided to raise the price of everything, but if you can spend the gems (or listened to my advice to play another char and get the passive skills there):
- The boar king is an excellent tank. Was 30 gems, now 80.
- The dryad is weak but can mass attack and ensnare. Was 40 gems, now 100.
- And the golem, who can mass attack and tank well. Was 50 gems, now 120.
My personal choice is the boar. Cheap and sturdy.
And option 2 of course – spend the gems for the last map dungeon. Best items drop there. 21 gems per entry. Beld drops them too, but if you are in a hurry 😉 …
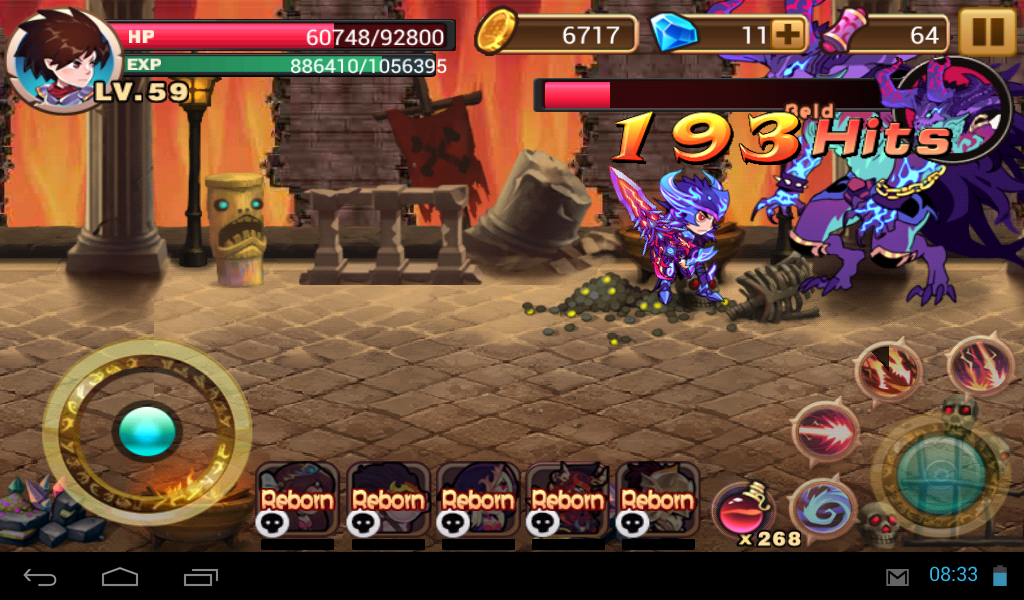
Last fight with Beld/Bled
Last fight.
Many copies of all bosses and mini bosses.
Beld is weakling.
Don`t know why you have to be with 25000 party power to enter last map.
He only has one special attack which will probably wipe your party but you will stand (if you have all passives).
By now Arthur is probably level 60, with almost 100k hitpoints. Not really a hard solo fight.
My first attempt was with 25008 party power and I only had to gulp 3 potions to finish him.
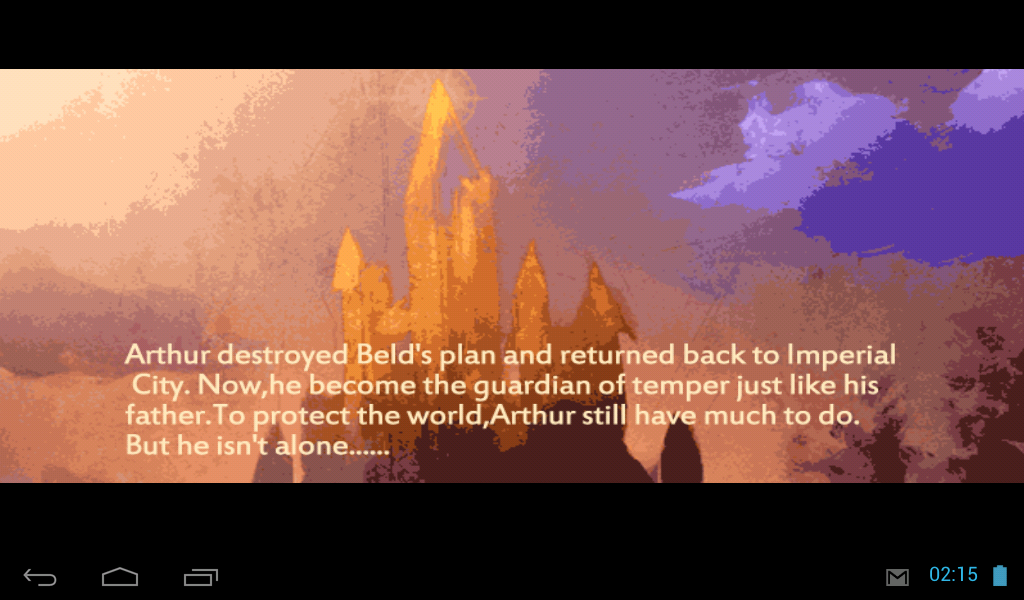
Cutscene with your father fading away.
The end.
Brave Fighter End Game
Now get back and kill him 7 more times for the achievement and the 4-star “Lord stone”. 30% chance of instant skill recovery. 60% when max-upgraded. Beats the premium passive skill, but still good to have both. With this Lord Stone upgraded to level 10 you can spam-kill everything.
You may also try to make 24 stars on area 5 (quite useless, no hidden achievement). You need to kill Beld in less than 4:10 minutes for this.
Game already ended. But…
End-game fight with Beld’s kill will always count as a newly finished map. With bonus in the end. You can use this to make 2 additional gems every day. This is probably a bug which will be fixed by the game developers sooner or later, so use it to unlock everything else while it is still there. 2 stars per day + some stars every other day, just for logging in.
You can also buy a 4-star Casely Ann for 22000 gold as spoils of the last battle. So, be sure to have the money.
The only item you can’t find with unfunded game is the 4-star “Lord dangler”. No-one drops it and nowhere to buy it. Probably only accessible as a part of the premium full armor set, but I decided not to pay EUR 20 for the necessary gems 😉